One of the final pieces for the Wheel Cutting Engine I’m reconstructing is the critical cutter – the spiky toothed steel wheel that actually cuts the slots.
Excitingly, I identified a set of cutters that go to the Dominy’s wheel cutting engine in storage at Winterthur (in a bag with a lump of lead, half a pendulum bob, and a broken escape wheel):
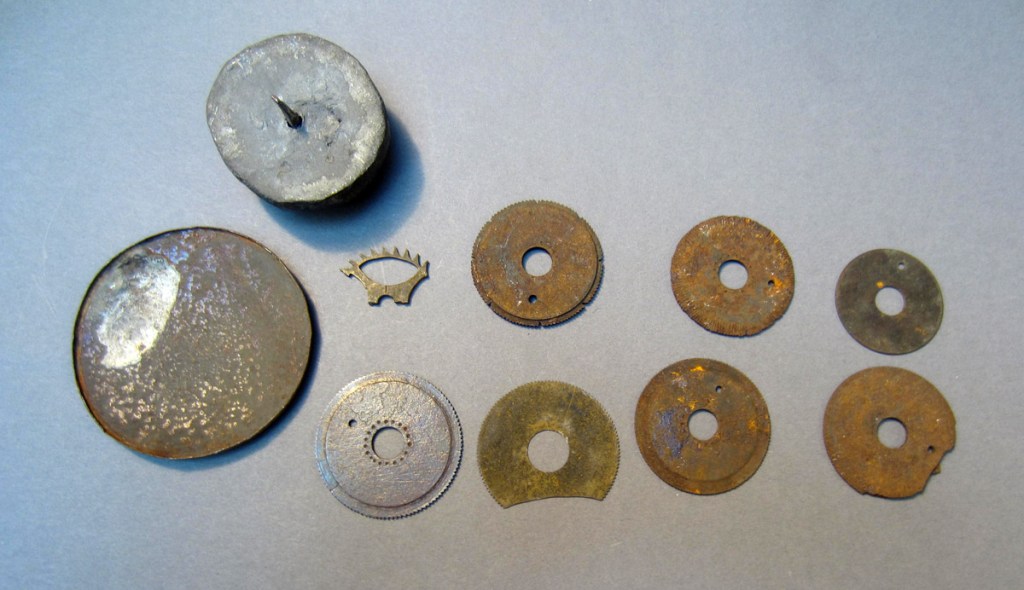
The six cutters (and one disc without teeth that I suspect is a spacer) all vary in width at their rims. This is so that they cut different size slots and thus different size gear teeth depending on the size of the wheel needed. I took careful measurements of the widths and number of teeth. Eventually I will recreate all six cutters, but I started with one of the wider ones (at 1.20mm in width at the rim) that only has teeth on the edge of the rim. This means it will only cut a rectangular slot. Three of the cutters only have teeth on their edge like that, the other three have file-type teeth wrapped around the rim and outer portion of the cutter. Those three are more of a form tool and would cut slots that have more curvature to them.
Here is how I made my cutter for my reconstruction:
I used 1075 steel, recommended to me by historic gunsmiths and blacksmiths I’ve talked to. Using a treadle lathe with a pulley ratio comparable to the Dominy’s, I turned the steel round and shaped the rim profile to the correct thickness (1.20mm). I found that the most convenient way to hold the cutter blank in the lathe was to use the arbor from the engine that holds the cutter – it already has female cone bores for holding between centers! I made a sort of lathe dog to interact with the pinion of the arbor, but I (or the Dominys) could have just put the lathe’s drive belt directly onto the arbor shaft; I experimented with that and it works just fine.
Next I blued the rim so I could maintain the diameter while I filed in the cutting teeth with a triangular needle file. I used a #2 file to remove most of the material, then cleaned it up with a #6 file. Next I heated the part until it lost magnetism (~1420°F) and quenched. I realize my little cup of quenching oil is small, but, testing the steel afterwards with hardness testing files, I did succeed in making it glass hard. Finally off-camera I tempered the steel back to a straw yellow, which is what I was taught to use for gravers and figured would be good for this application too.
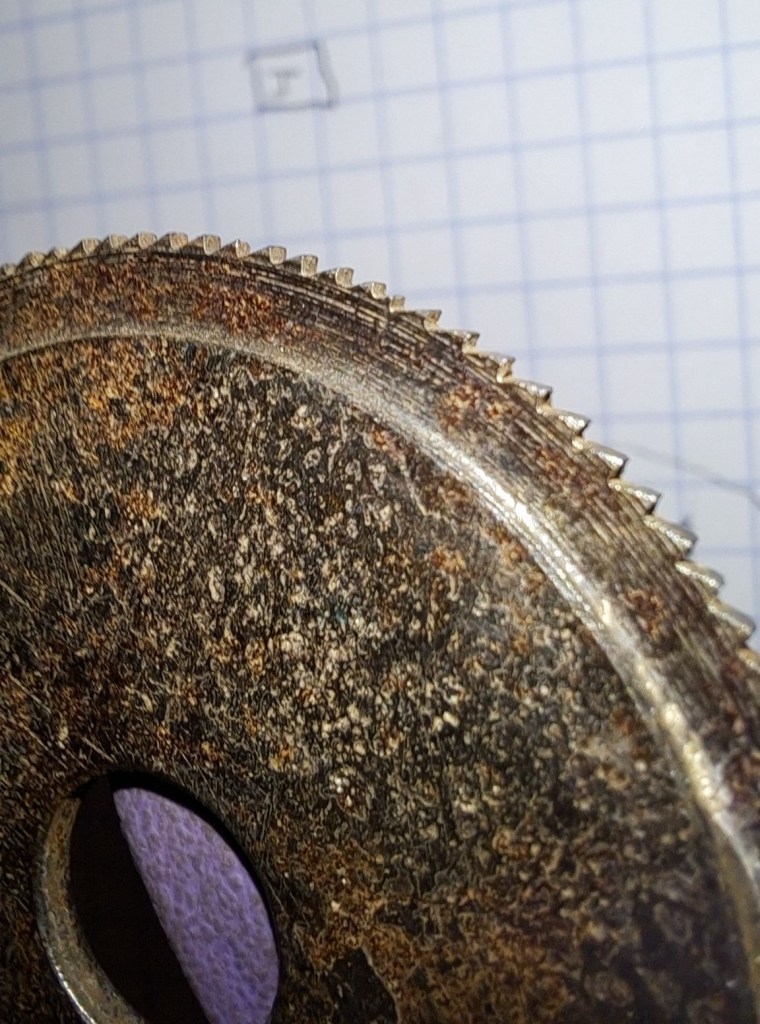
I did not file the teeth quite as small or as regular as the Dominy’s did, but theirs also has irregularities if you look close:
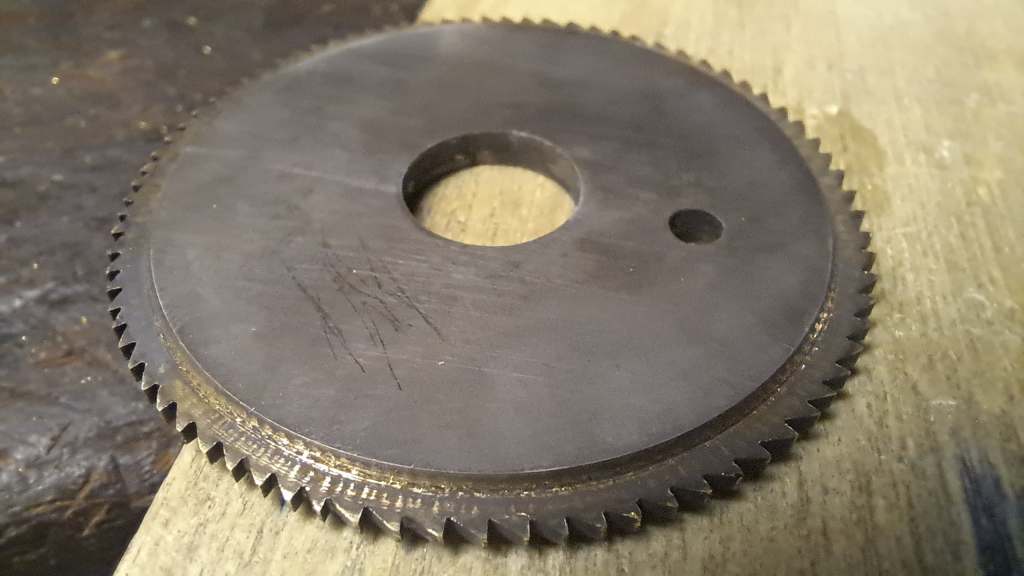
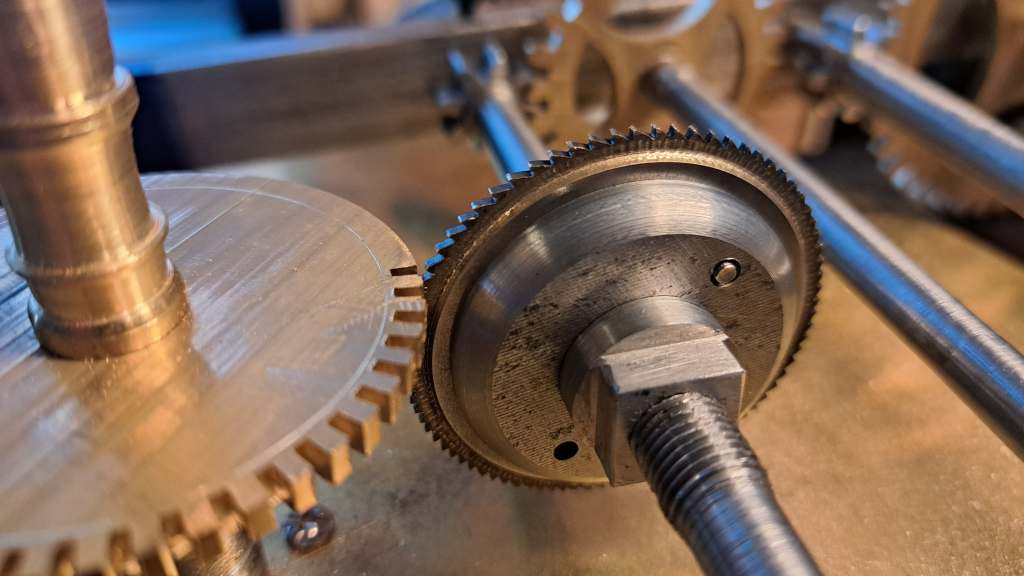
But it works well! …as I will soon show in an upcoming post


Leave a comment